
Not headed to the shore? A headband is all you need to recreate beachy waves like vlogger Vivian Vo-Farmer’s. Start with slightly damp hair and place a wide, stretchy one around your head. Divide your hair into two sections and, starting near your ears, weave one section over and back under the headband, continuing until you reach the nape of your neck. Repeat on the other side. The next morning, gently unwrap each section before removing your headband, then spritz a texturizer like PARLOR by Jeff Chastain’s Moisturizing Sea Salt Sprayand gently use your fingers to break up your surfer-girl waves.
Classic black cut-crease
What is a Cut Crease?
Recall for a moment the last time you applied eyeshadow. Most likely, you would have dusted your favourite shade onto the lids of your eyes, extending the shadow just up to the point where the eyelid skin dips into a crease. The cut crease makeup technique defines that line, extending it slightly above the natural fold with a few clever tricks. As such, it shows off and widens your eyes by creating the illusion of added depth. Whether your eyes are small, large, slanted or hooded, a cut crease will open them up for a beautiful, doe-eyed look. Additionally, the extra space created on the lids will offer a more extensive canvas to show off your favourite eyeshadows.
Sunday Skincare: DIY face mask
Ingredients:
Toner- Milk
Face pack- Besan + turmeric + vitamin E + curd + aloe gel + green tea + organic honey
Let the mask sit on your face for 20 minutes and VIOLA! you have baby skin now.
My must have skincare products
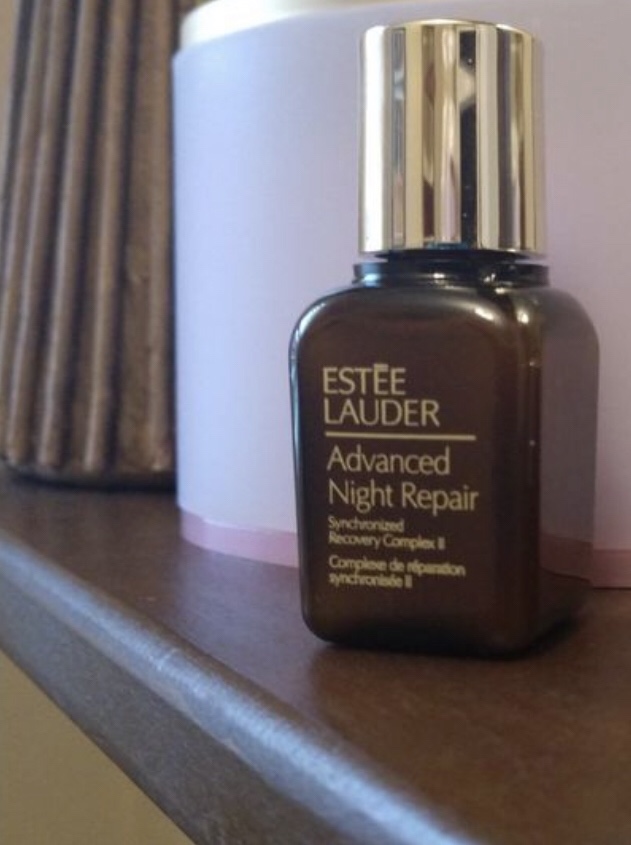
1. Estée Lauder Advance night repair.
This serum is the best thing that’ll happen to you. It’s on the high end but think of it as an investment product. By using this product in your everyday skin care routine you’ll not need any other facials and skin treatments. Your skin will thank you later.
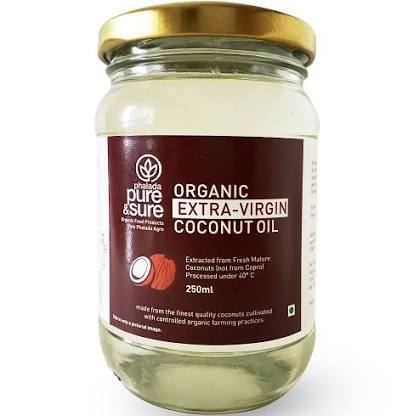
2. Extra- Virgin olive oil
Coconut is the gift of god to the mankind. It has numerous uses and benefits. It’s the best makeup removing product out there, the best moisturizer for your skin and hair, it can be used in multiple home remedies and packs, ever heard of oil pulling? And the list goes on.
Along side all the external uses coconut oil is also a good substitute to your food oils which are the main reason behind cholestrole issues.
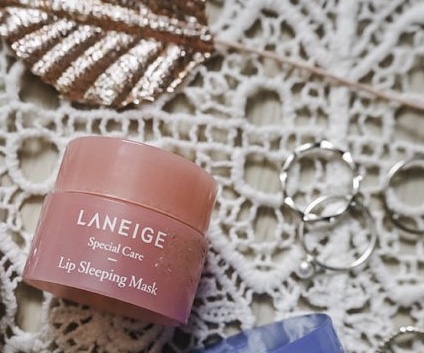
3. Laneige – Lip sleeping mask
Personally speaking this is handsdown the best product for my lips which I have tried so far. Applying a good layer at night leave my lips fresh and plump in the moring.
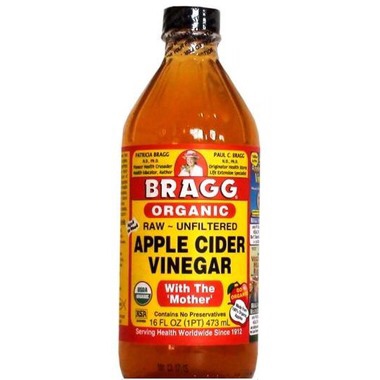
4. Apple cider vinger- WITH MOTHER
This might be a shocker for some but trust me when I say if you have acne issues ( which are not hormonal) nothing works better than Apple cider vinger.
Use it as a toner every morning with water in half and half ratio, dip a cotton pad in the mixture and use it on the acne affected areas. Then moisturize your face.
* Make sure the vinger is unfiltered a.k.a. it contains “the mother”.
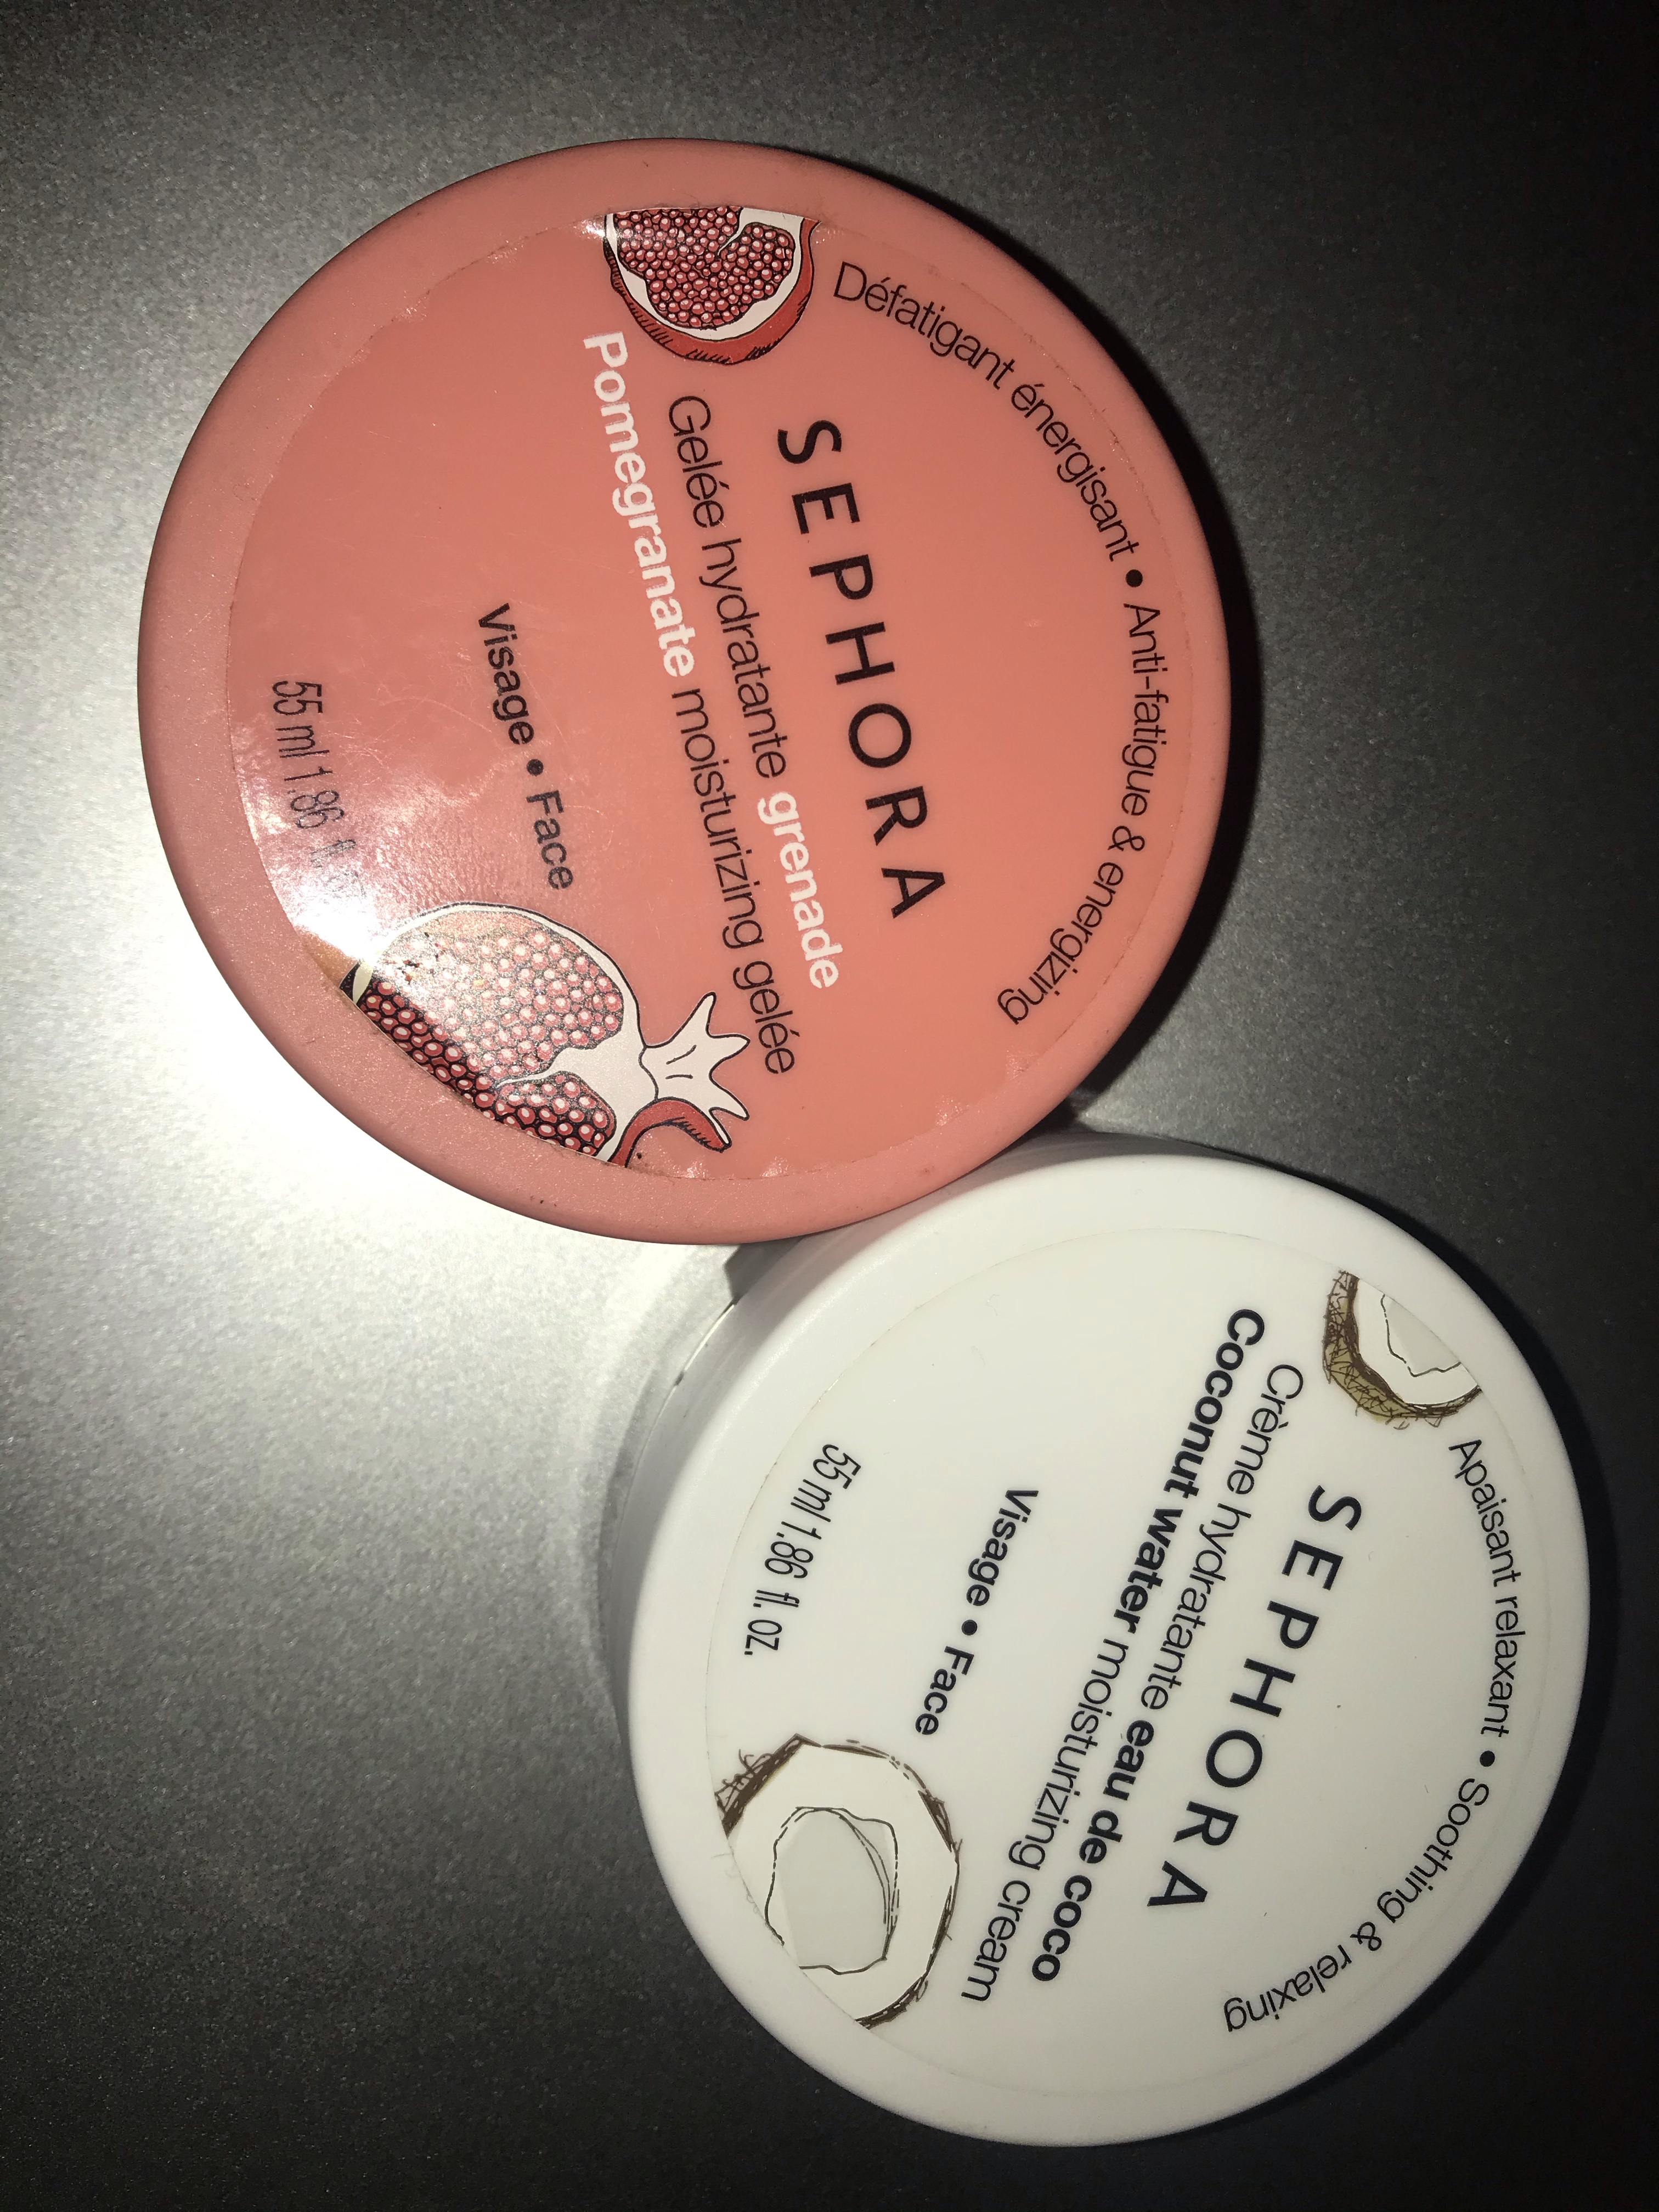
5. Sephora collection moisturiser
People who know me know my love for these moisturisers. I can go on and on about it but I’ll just say , Try it yourself and you’ll know what I am talking about.
NEON- Now Everybodies Outfit (of the) Night
There was one trend I was certain nobody would go anywhere near: neon. But it turns out this isn’t a trend that is staying within the Kardashian-Jenner family. Most of us haven’t gone near neon since KUCH KUCH HOTA HAI, however the rage is back.


A neon dress is a good choice for a night out in the town. It’s a daring move, one has to very careful. Here are some tips on how to hit the nail right:
- Be careful to not over accessories the look.
- Try striking a balance between classy and trendy.
- A pair of dainty earring and a watch will go a long way.
- Since the dress is already in your face it’s better to pair it up with a nude or black scrappy heels.
- Make sure that your bag matches your shoes.
- keep you makeup dewy and neutral.
My lazy day makeup routine.
Hi Guys!
So this morning I woke up a little late and a little more tired than usual for my brunch with besties. This Makeup Routine is for those days you don’t feel your best but have to look decent for when you leave the house. This is my go to look for those days and it honestly makes me feel more awake and put together. Here we go!!
1. BASE
– MOISTURIZE! MOISTURIZE! MOISTURIZE!
I have used the Sephora collection moisturizer in coconut water .
– Just conceal the undereyes and the problematic areas.
I used L.A. Girl HD Pro Concealer in Medium Beige.
– Set it with a setting powder.
– Use a Lip balm.
Sephora’s collection lip balm in pomegranate.
2. BROWS
– Fill in your Brows.
I used the NYX Professional Makeup Micro Brow Pencil.
3. EYES
– Use a soft pink shimmer colour on your lids.
– Finish the eyelook with Mascara.
4. LIPS
– Skip the nudes. Wear a bright colour to look awake.
I mixed two shades; NYX Professional Makeup Soft Matte Lip Cream – Prague + Copenhagen
And Voilà!!
A sunset eye makeup in minutes.
Very few makeup looks scream summer like a gorgeous, ombré sunset eye. The warm, vibrant makeup looks like it’s meant for the beach or a tropical vacation. But, even if you have nothing more planned for the rest of the summer than a happy hour date with your besties, this sunset eye look will bring the heat. Think it looks too complicated to pull off? Think again.
STEP 1: Prep the Eyes With a Primer
Whenever you take the time to do an extensive eyeshadow look, you’ll want to prep your eyelids with an eyeshadow primer. What’s the use of putting all of the time and effort into your makeup if you’re just going to let it melt off two hours after applying?
STEP 2: Apply Your Base Color
Using the “Makeup Revolution X Imogenation eyeshadow pallete”, apply a coral pinkish-orange matte shade all over your eyelid as the base. Really pack on the color for a vibrant look on the outer edge of your lid — this is where you’ll want the orange hue to be really noticeable in the sunset look.
STEP 3: Add Color to Your Crease
Work the bright pink shade into the crease of your eye. Be sure to buff it out so the color looks diffused on the edges. To achieve the ombré color of a sunset, also apply the pink eyeshadow to inner half of your eyelid. Blend the barrier between the coral shade and the pink shade so there’s just a subtle color change.
STEP 4: Brighten the Inner Corners of Your Eyes
Moving on with the yellow-gold shade, brighten up the inner corners of your eyes. Take a small eyeshadow brush and pack on the pigment for a pop of color. Continue to blend the shade down underneath your bottom lash line, as well.
STEP 5: Add Color Underneath Your Bottom Lash Line
Moving back to the pink and orange hues, apply a light coating of the eyeshadow colors underneath your bottom lash line. The colors should go from yellow to pink to orange — just as they do on your eyelid.
STEP 6: Mascara, Always
Finish off your sunset eye makeup look by curling your eyelashes and applying a coat of black mascara. If you’re really looking to up the drama, apply false lashes instead.

Getting ready for a date
Hi Guys!
Is it a date night today, and you wanna put your best foot forward? In that case you have come to the right place. A good face of makeup does add to your confidence and who doesn’t wanna look confident and put together on a date?
To complement the occasion we’ll be going for a romantic eye shadow look. So let’s get started:
1. EYES
– Put a concealer on your eye lid, for that perfect base for your eyeshadow.
– Bake the eye with some baking powder to prevent creazing.
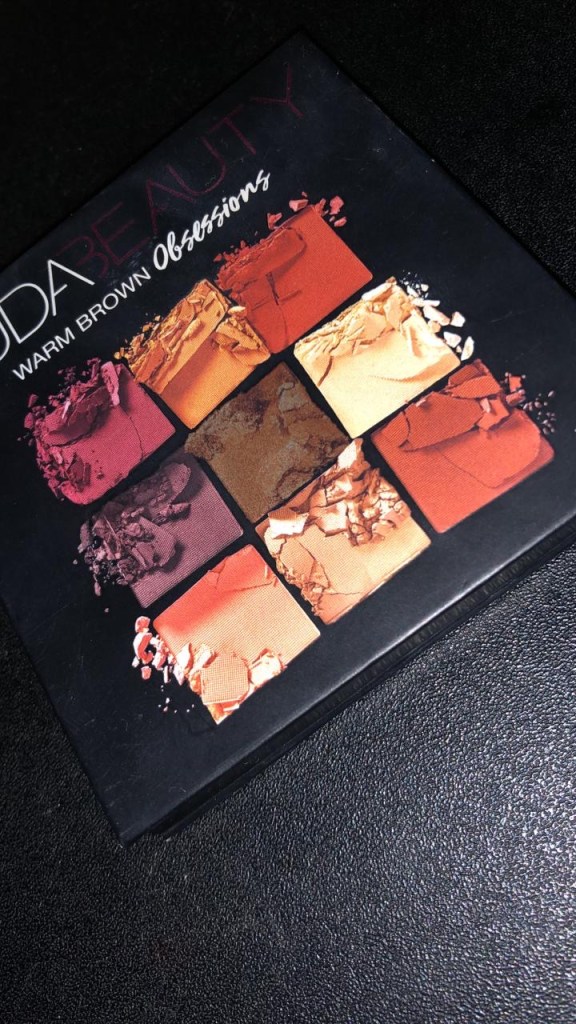
– I’ll be using the HUDA BEAUTY EYESHADOW PALLETE in WARM BROWN.
– Mix a good old “Chestnut brown” with a “dark chocolate brown” to contour your crease.
– Then pick a ” brick red” colour and put it on the outer corner of your eyes blending it outwards to your brow.
– Take the same colour on a denser pointier brush and put the colour along your lower lashline.
– Now with a fluffy eyeshadow brush blend the eyeshadow in the crease to remove any harsh lines.
– On a seperate brush take a “gold” and “dark pink” shimmer and put it on your lid in the center and towards your inner corner.
– Take a lighter shimmer and put it on the center of your eyelid ( this will lift your eye up, giving it an illusion of a bigger eye) and in the inner eye corner ( making your eye look more awake).
– Finish the eye look buy curling your lashes and topping it up with some mascara.
2. LIPS
Since our eyes are the star of the night, we’ll keep the lips muted and go for a nude lip.
– I’ll be using the HUDA BEAUTY BOMBSHELL as our base colour.
– Topping it up with ANASTASIA BEVERLY HILLS in the shade TOFFEE. ( only in the center of the lips to give a plump effect)

Check out the video.
My Introduction
This is an example post, originally published as part of Blogging University. Enroll in one of our ten programs, and start your blog right.
You’re going to publish a post today. Don’t worry about how your blog looks. Don’t worry if you haven’t given it a name yet, or you’re feeling overwhelmed. Just click the “New Post” button, and tell us why you’re here.
Why do this?
- Because it gives new readers context. What are you about? Why should they read your blog?
- Because it will help you focus you own ideas about your blog and what you’d like to do with it.
The post can be short or long, a personal intro to your life or a bloggy mission statement, a manifesto for the future or a simple outline of your the types of things you hope to publish.
To help you get started, here are a few questions:
- Why are you blogging publicly, rather than keeping a personal journal?
- What topics do you think you’ll write about?
- Who would you love to connect with via your blog?
- If you blog successfully throughout the next year, what would you hope to have accomplished?
You’re not locked into any of this; one of the wonderful things about blogs is how they constantly evolve as we learn, grow, and interact with one another — but it’s good to know where and why you started, and articulating your goals may just give you a few other post ideas.
Can’t think how to get started? Just write the first thing that pops into your head. Anne Lamott, author of a book on writing we love, says that you need to give yourself permission to write a “crappy first draft”. Anne makes a great point — just start writing, and worry about editing it later.
When you’re ready to publish, give your post three to five tags that describe your blog’s focus — writing, photography, fiction, parenting, food, cars, movies, sports, whatever. These tags will help others who care about your topics find you in the Reader. Make sure one of the tags is “zerotohero,” so other new bloggers can find you, too.
